
Trace small or thin tools
How small a tool Tracefinity keeps, how thin a part survives, and how to frame bits, hex keys and blades so they trace whole.
Bits, hex keys, blades and needles test Tracefinity in two ways. A small tool covers few square millimetres, and Tracefinity drops tiny shapes as noise. A thin part covers few pixels, and the clean-up on every outline removes parts that are too narrow.
1. Check the tool is big enough
Tracefinity drops any traced shape smaller than about 150 mm², roughly a 13 mm square. Outlines are measured just inside the tool's edge, so thin parts need more length than their area suggests. With the sheet filling half the frame, a part 2 mm wide needs about 90 mm of length and a part 3 mm wide about 60 mm. A tool below the limit is missing from the list after tracing.
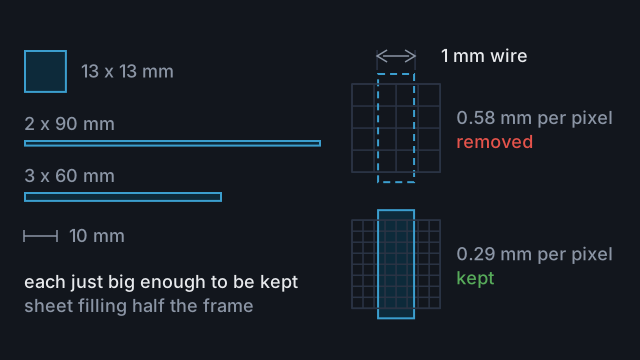
Trace tools that small as a group. Lay them side by side, touching, so they trace as one shape and share one pocket.
2. Fill more of the frame
Tracefinity straightens the photo into an image no more than 2048 pixels on its longer side, covering the whole frame. Its clean-up then removes any part narrower than 3 pixels. The more of the frame the sheet fills, the smaller each pixel. For an A4 sheet:
| Sheet's long side fills | Each pixel | Parts lost below |
|---|---|---|
| A quarter of the frame | 0.58 mm | 1.7 mm |
| Half the frame | 0.29 mm | 0.9 mm |
| Four fifths of the frame | 0.18 mm | 0.54 mm |
- Zoom in, or move closer, until the sheet fills most of the frame. Keep a border of background round all four corners.
- Use A4 or Letter. At the same framing, an A3 sheet makes every pixel 1.4 times as large.
- Line the sheet up with the edges of the frame. Turned 45 degrees, it makes every pixel about a quarter larger.
Thin tools lie low, so shooting close costs little. A hex key 2 mm thick traces under 1% large from 30 cm. For tools that thin, a distance warning matters less than it does for thick tools.
3. Leave gaps
Keep tools at least 1 cm apart. The clean-up also closes gaps of up to 4 pixels. At half-frame framing, tools within about 1.2 mm of each other join into one outline.
4. Check the thin parts
After tracing, compare each outline with the photo. Thin parts go wrong in three ways:
- A pointed tip comes out short, cut back to where the tool is about 3 pixels wide.
- A neck narrower than 3 pixels splits the outline in two, and a piece under the size limit is dropped.
- A slot up to 4 pixels wide fills in.
A short tip matters most because it can leave the pocket too short for the tool. Save the tool, measure it, and drag the tip out to length in the tool editor: see Fix a trace that's slightly off. For a missing piece, retake with the sheet filling more of the frame.
Common mistakes
- Shooting small tools on A3. The bigger sheet makes every pixel larger.
- Shooting from far away without zooming. With the sheet a quarter of the frame, parts under 1.7 mm wide are lost.
- Expecting a short bit to trace on its own. Under about 150 mm² it is dropped. Trace it in a group.
- Laying small tools close together. Small gaps close and the tools trace as one.
Reference
More guides
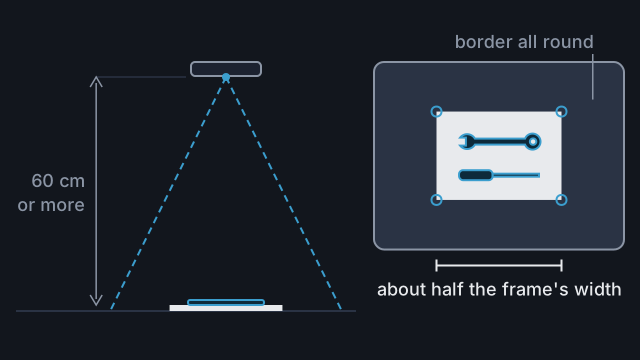
Take a photo that traces accurately
Set up the sheet, surface and light, then frame the photo so Tracefinity scales and traces your tools correctly.
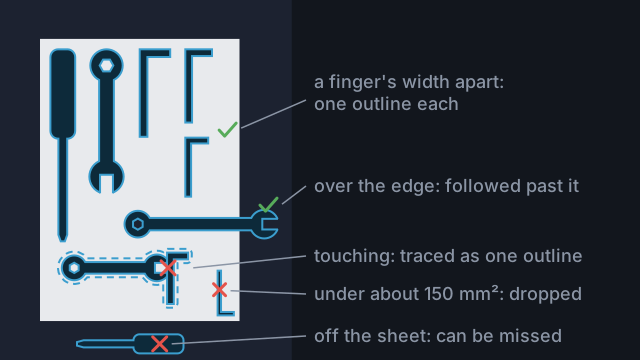
Trace a whole set in one photo
Lay a set out on one sheet, trace it once, then pick and name the tools to keep within your plan's limits.
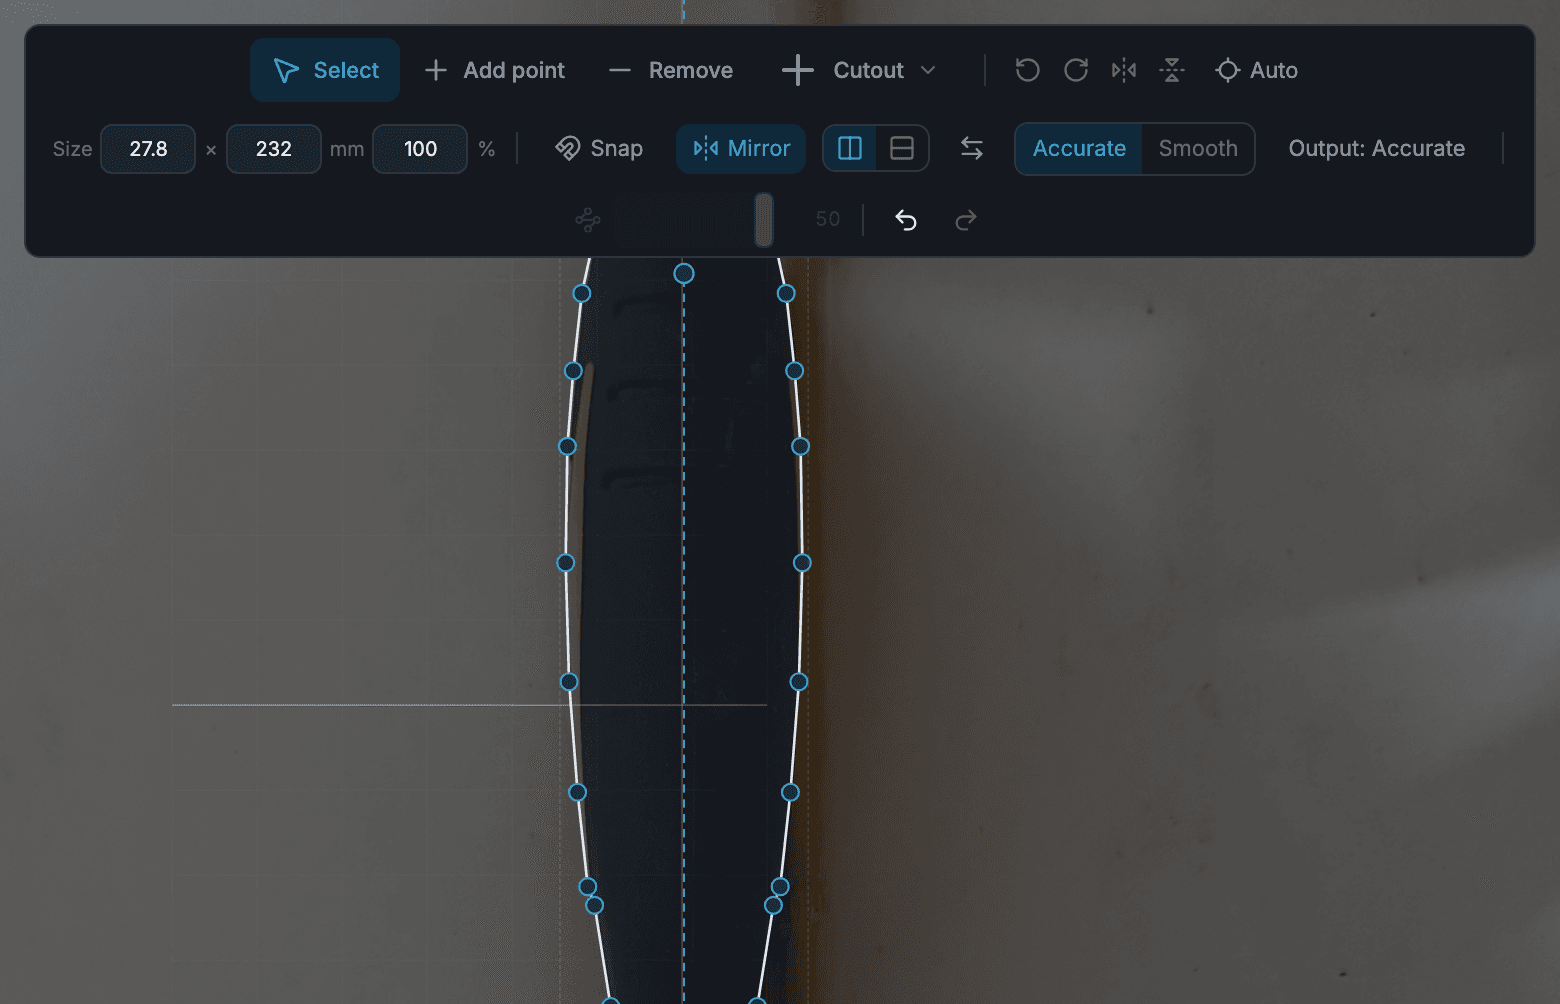
Fix a trace that's slightly off
Repair a missing part, a shadow, a stray hole or a ragged edge in the tool editor, mirror symmetric tools, and know when to trace again.