
Make your first bin from a photo
The whole path once: photograph a tool, set the corners and paper size, trace it, check it, then make a bin and print it.
This takes one tool from a photo to a printed bin. Start with a flat tool like a spanner or a scraper. Thick tools need extra care with size, covered in Trace tall or thick objects at the right size.
You cannot change the corners or paper size after the trace runs, so check both before you click Continue.
1. Take the photo
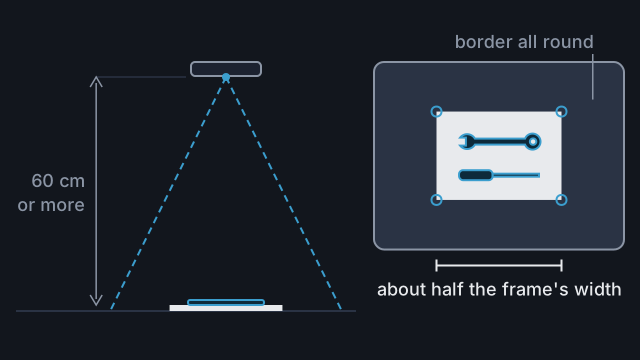
Lay the tool flat on a sheet of A4 or Letter paper, on a darker surface. Keep all four corners of the sheet in the shot. The tool can hang over an edge. Hold the phone level, at least 60 cm straight above the sheet, then zoom in until the sheet fills about half the frame's width. Take a photo that traces accurately covers light and backgrounds.
2. Upload it and set the corners
Click Upload photo and choose the picture. Tracefinity looks for the sheet and puts a handle on each corner. Zoom in with the + button and drag any handle that is not on its corner.
Under Paper Size, pick the sheet you used. It starts on A4, so change it if you used Letter.
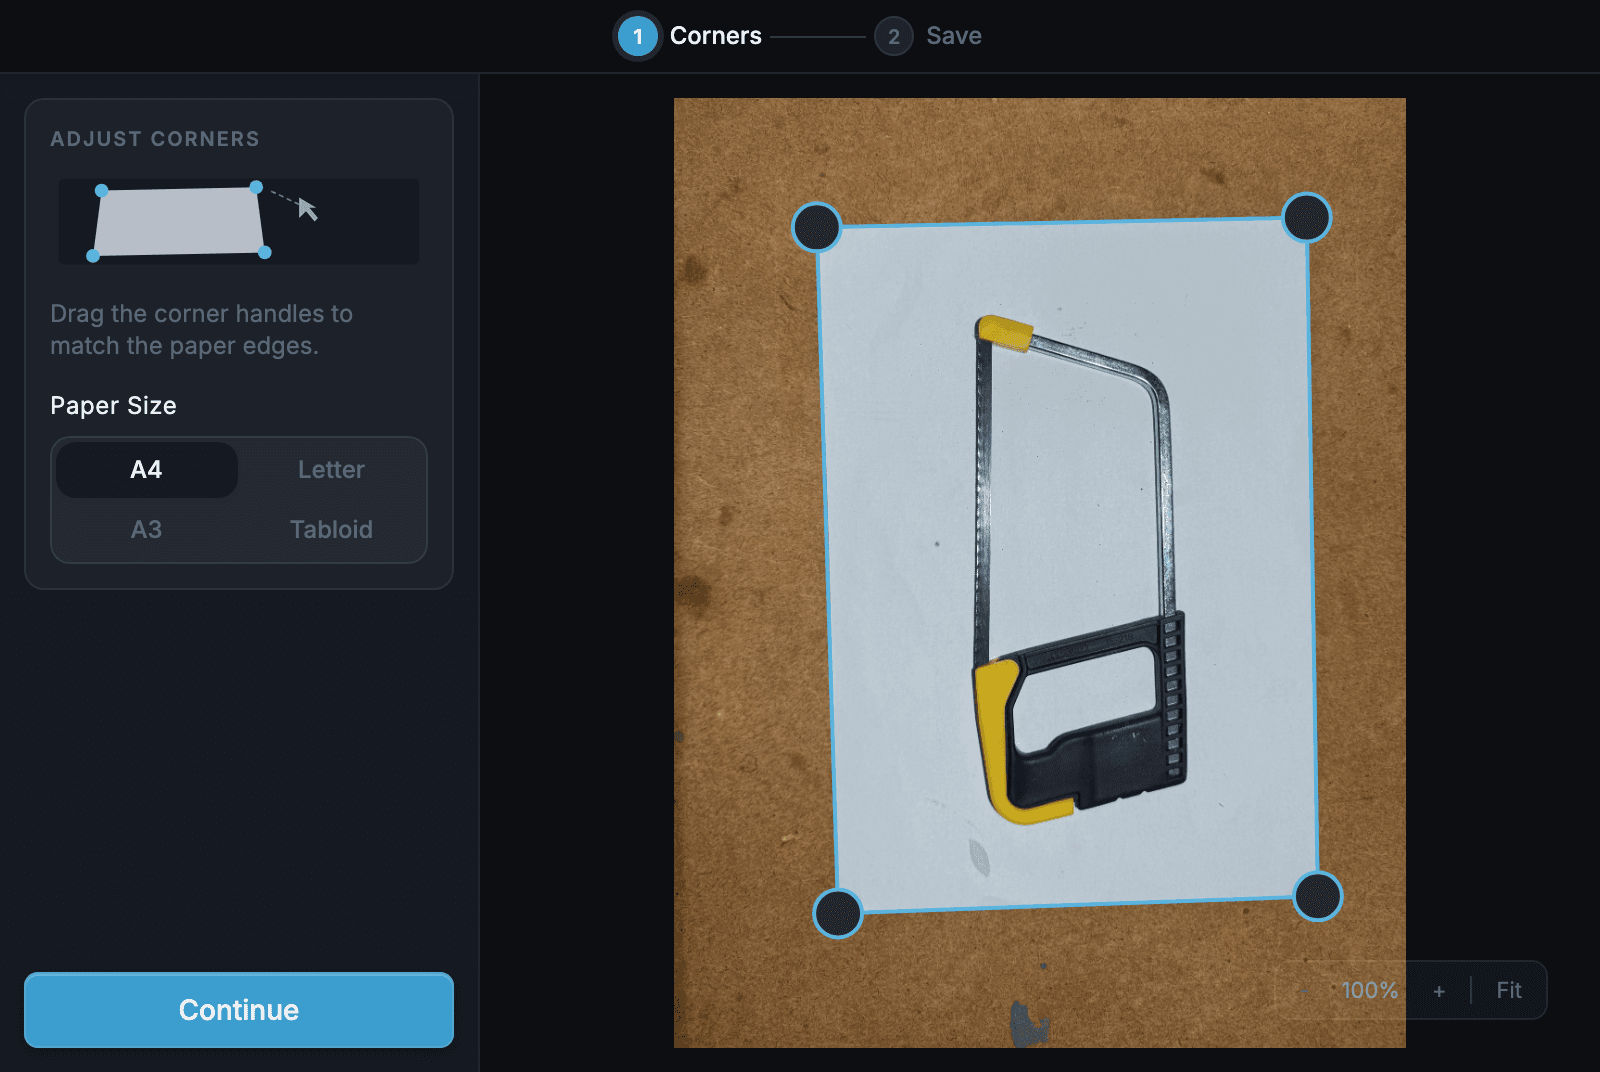
Click Continue. The trace starts and uses one of your plan's traces (what counts).
3. Keep the tool
The outline appears over a squared-up copy of your photo, listed as tool 1. Click the outline, or its row in the list, to select it. To rename it, click the pencil on the row, type a name and press Enter. Leave anything you do not want unselected, then click Save 1 tool. Tracefinity saves it to your library and takes you there.
Leave Re-trace alone: it cannot trace this photo again. If you click it, reload the page to get your outline back.
If a warning appears in the sidebar, read it. It flags a camera that was too close, a sheet cut off at the edge, or a strong angle.
4. Check it in the tool editor
Click the tool in your library to open the editor. Your photo shows faintly behind the outline, so you can see whether the outline follows the tool. The bottom-left corner gives the outline's size in mm. Measure the tool with a ruler and compare.
If the outline strays, fix the outline. If the size is off, find out why. Edits save as you go and do not use a trace. A bin that holds the tool picks up your edits the next time you open it.
5. Make a bin
In your library, hover over the tool and click the box icon, Create bin. Type a name and click Create. The bin opens with the tool in it and the grid sized to fit. The 3D preview rebuilds after every change.
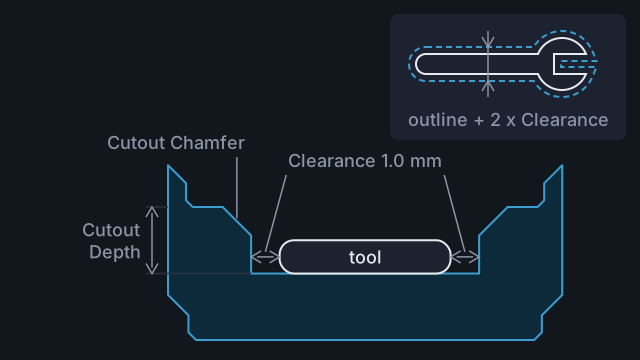
The starting settings give a 4u high bin with a 20 mm deep pocket, 1 mm of Clearance round the tool, magnet holes and a stacking lip. To change the fit, see Get a snug fit. To give your fingers room to lift the tool out, add a finger hole.
6. Export and print
When the preview has finished, click Export, then STL.
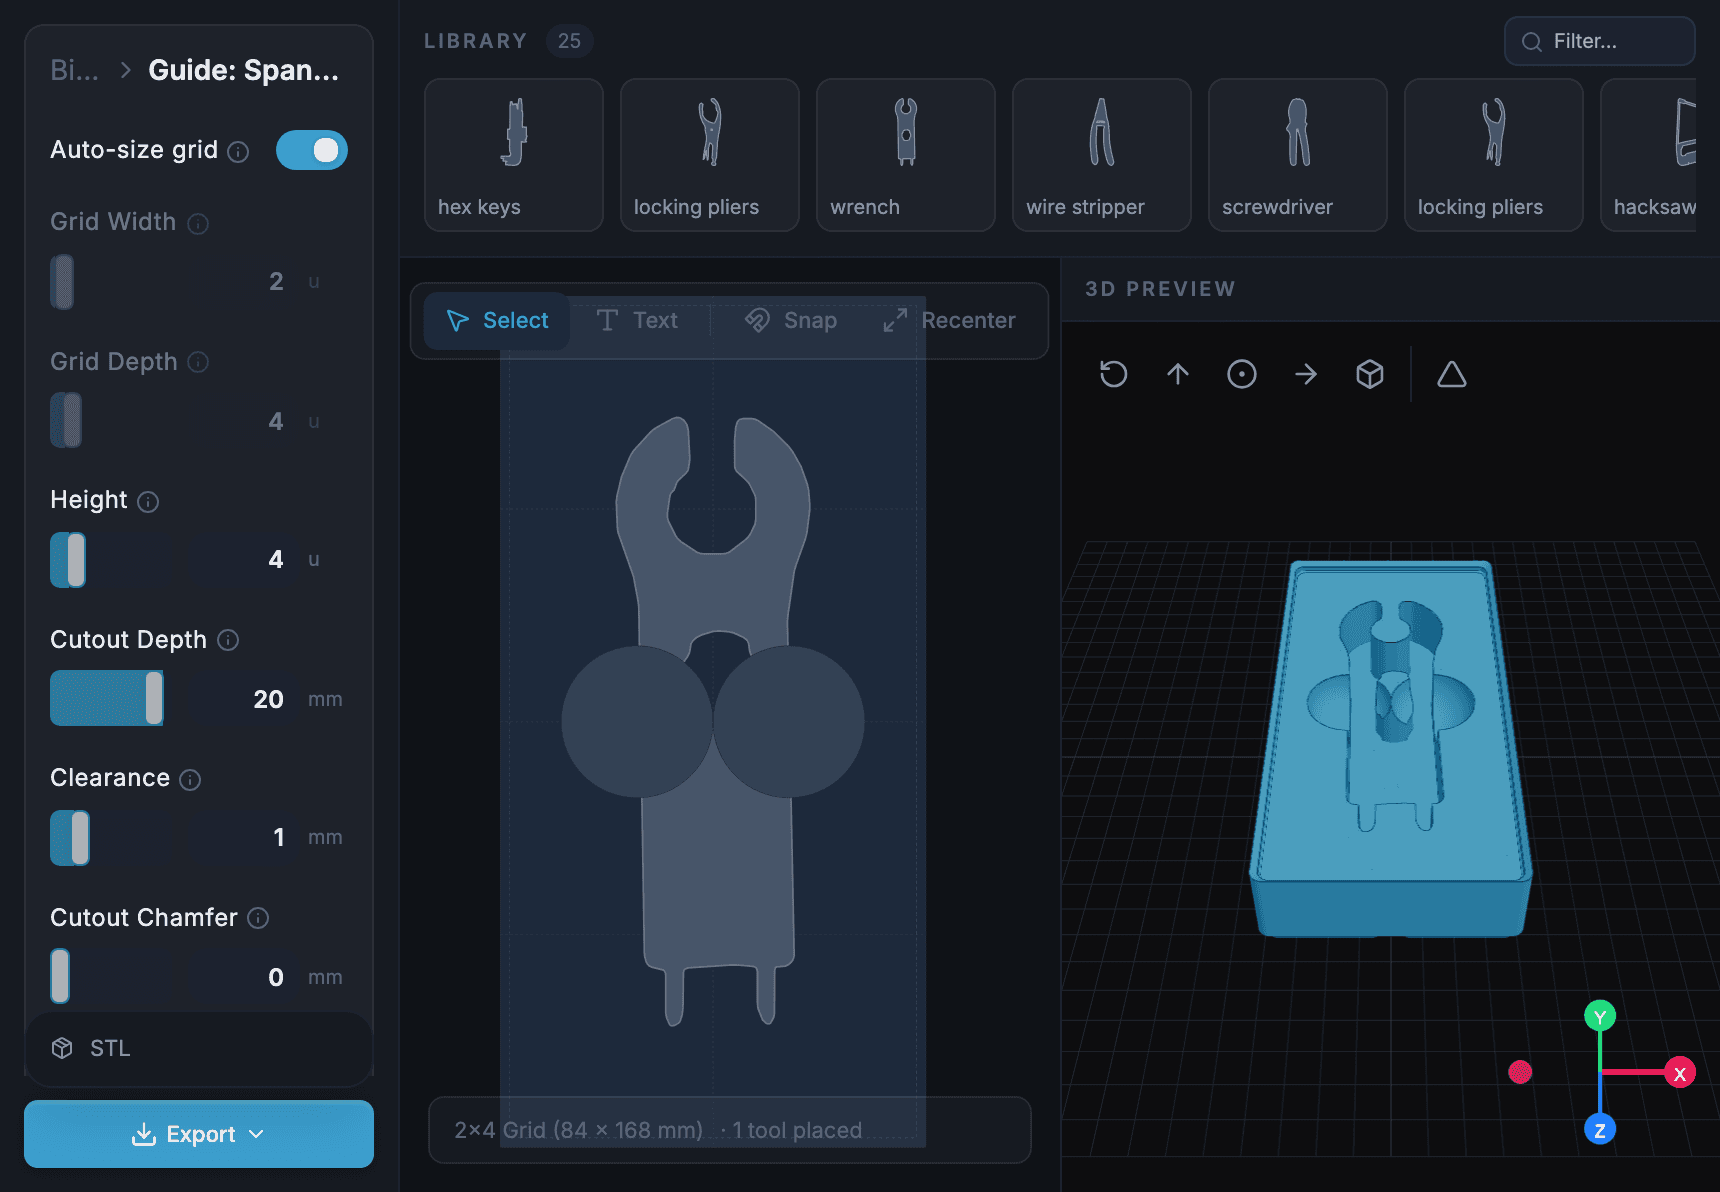
Print the bin base down, with no supports. The print recommendations cover layer height, infill and material.
Common mistakes
- Leaving the paper size on A4 for a Letter sheet. The outline comes out about 6% too long along the sheet's long edge and 3% too narrow across it.
- Shooting from close up. From 30 cm, a spanner 6 mm thick traces about 2% large. Stand back and zoom in.
- Clicking Continue with a handle off its corner. Fixing it means uploading the photo again, which uses another trace.
- Printing before checking the size. Compare the outline with the tool first. A reprint costs filament as well as time.
Reference
More guides
Take a photo that traces accurately
Set up the sheet, surface and light, then frame the photo so Tracefinity scales and traces your tools correctly.
Fix a trace that's slightly off
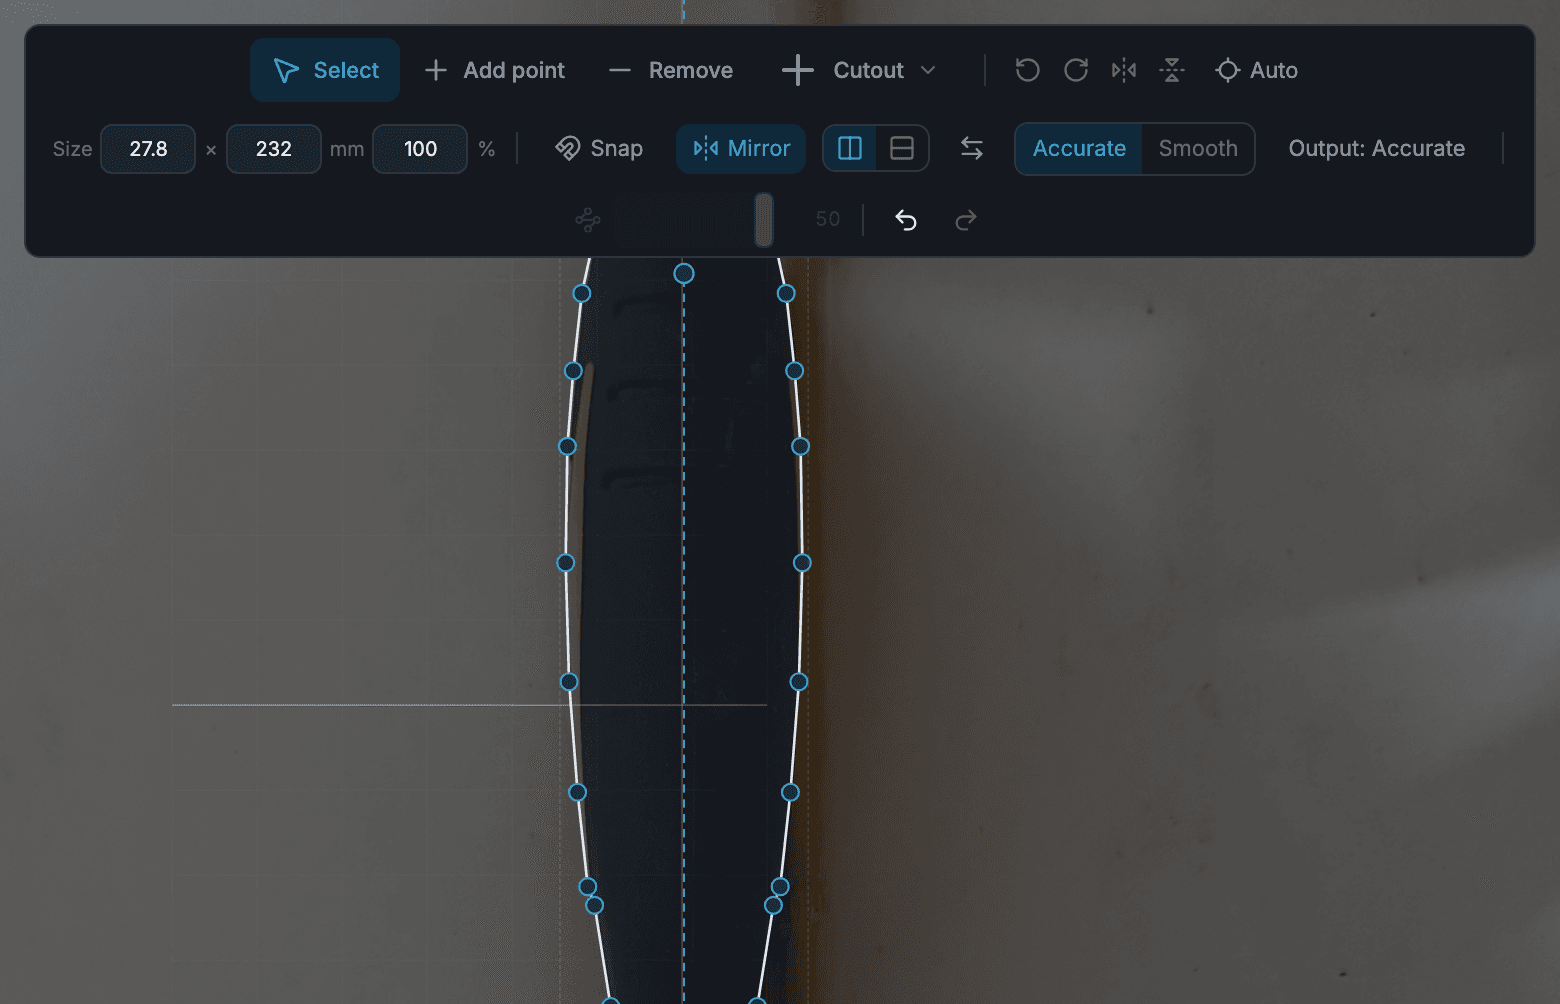
Repair a missing part, a shadow, a stray hole or a ragged edge in the tool editor, mirror symmetric tools, and know when to trace again.
Get a snug fit
Check the outline on paper, print a shallow test pocket, then set Clearance so tools drop in without rattling.